Vector Brushes for Digital Illustration and Lettering with Ink Drawing Effect
To create my vector illustrations and achieve a style closer to traditional paper drawings, I often make my own custom brushes for Adobe Illustrator.
Not just for digital drawing: as with traditional lettering on paper, I also frequently use different brushes for digital lettering to simulate ink effects.
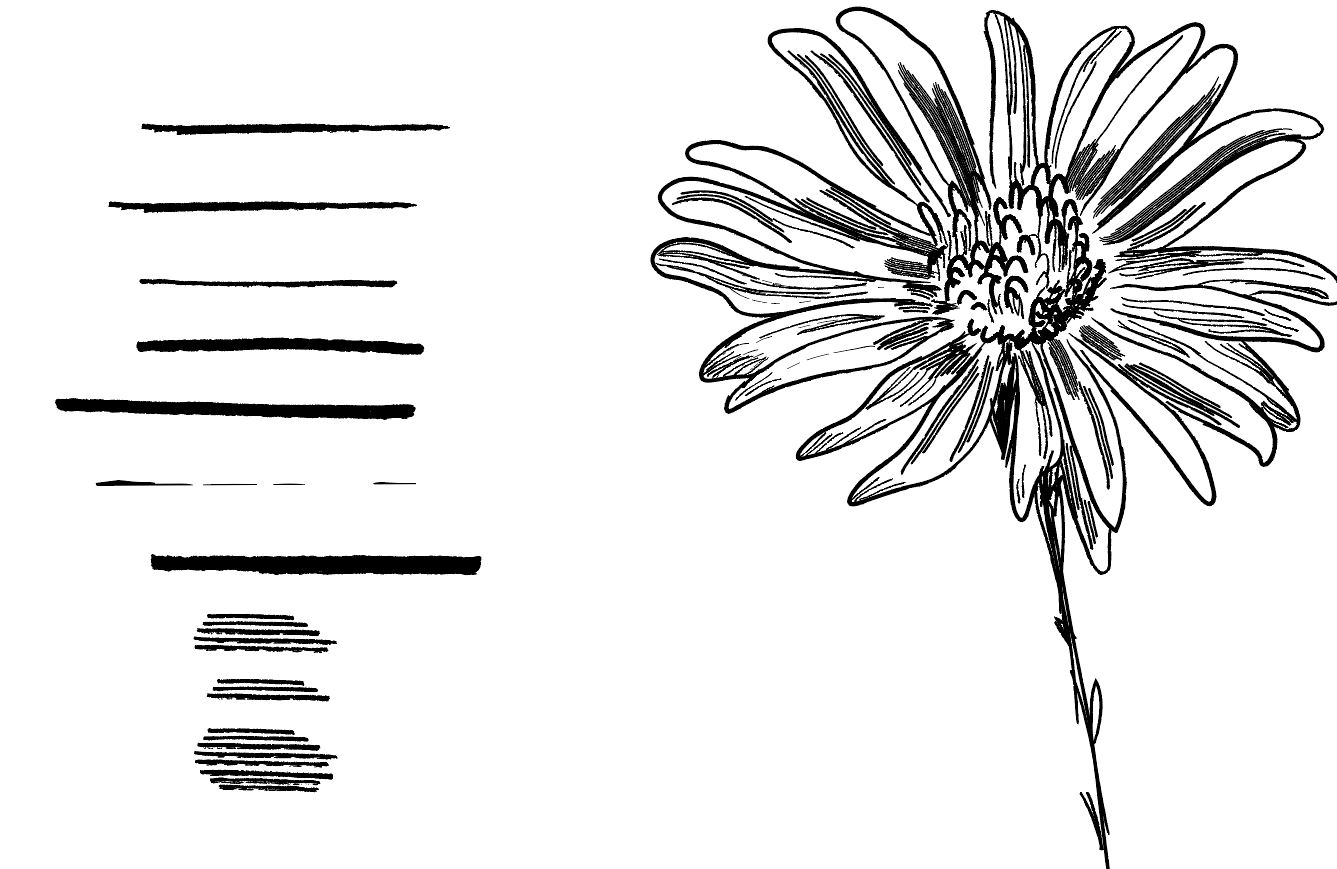
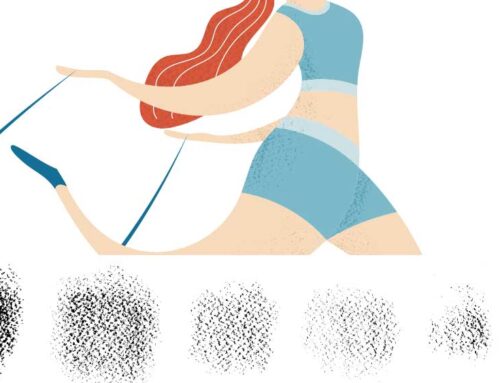
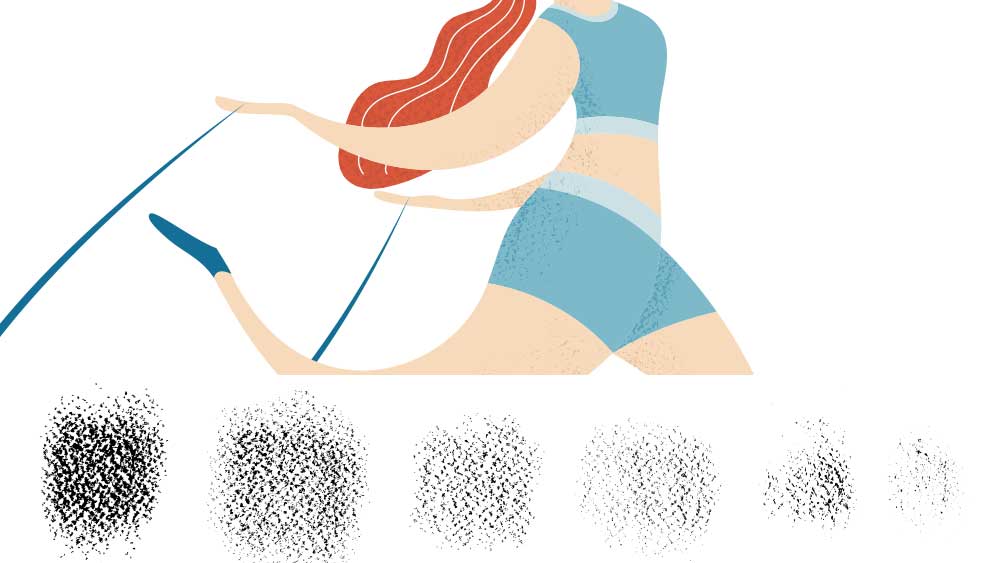
For example, to create black-and-white vector illustrations for children with a hatching/ink effect, I first developed a dedicated library of custom brushes. I started by drawing on paper with Micron pens of various thicknesses and a brush pen, varying angles and pressure to capture different stroke styles.
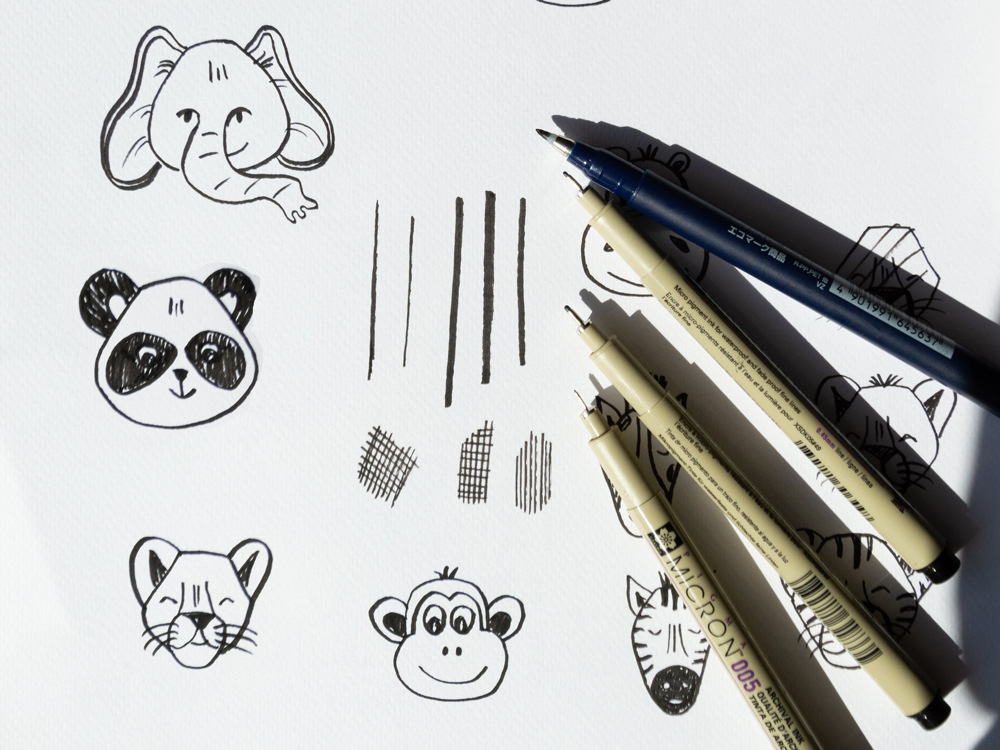
I then digitized the strokes using a scanner and imported them, individually cropped, into an Illustrator document.
Converting Paper Strokes into Vector Shapes
In this short tutorial, I’ll explain how to turn ink strokes into vector brushes.
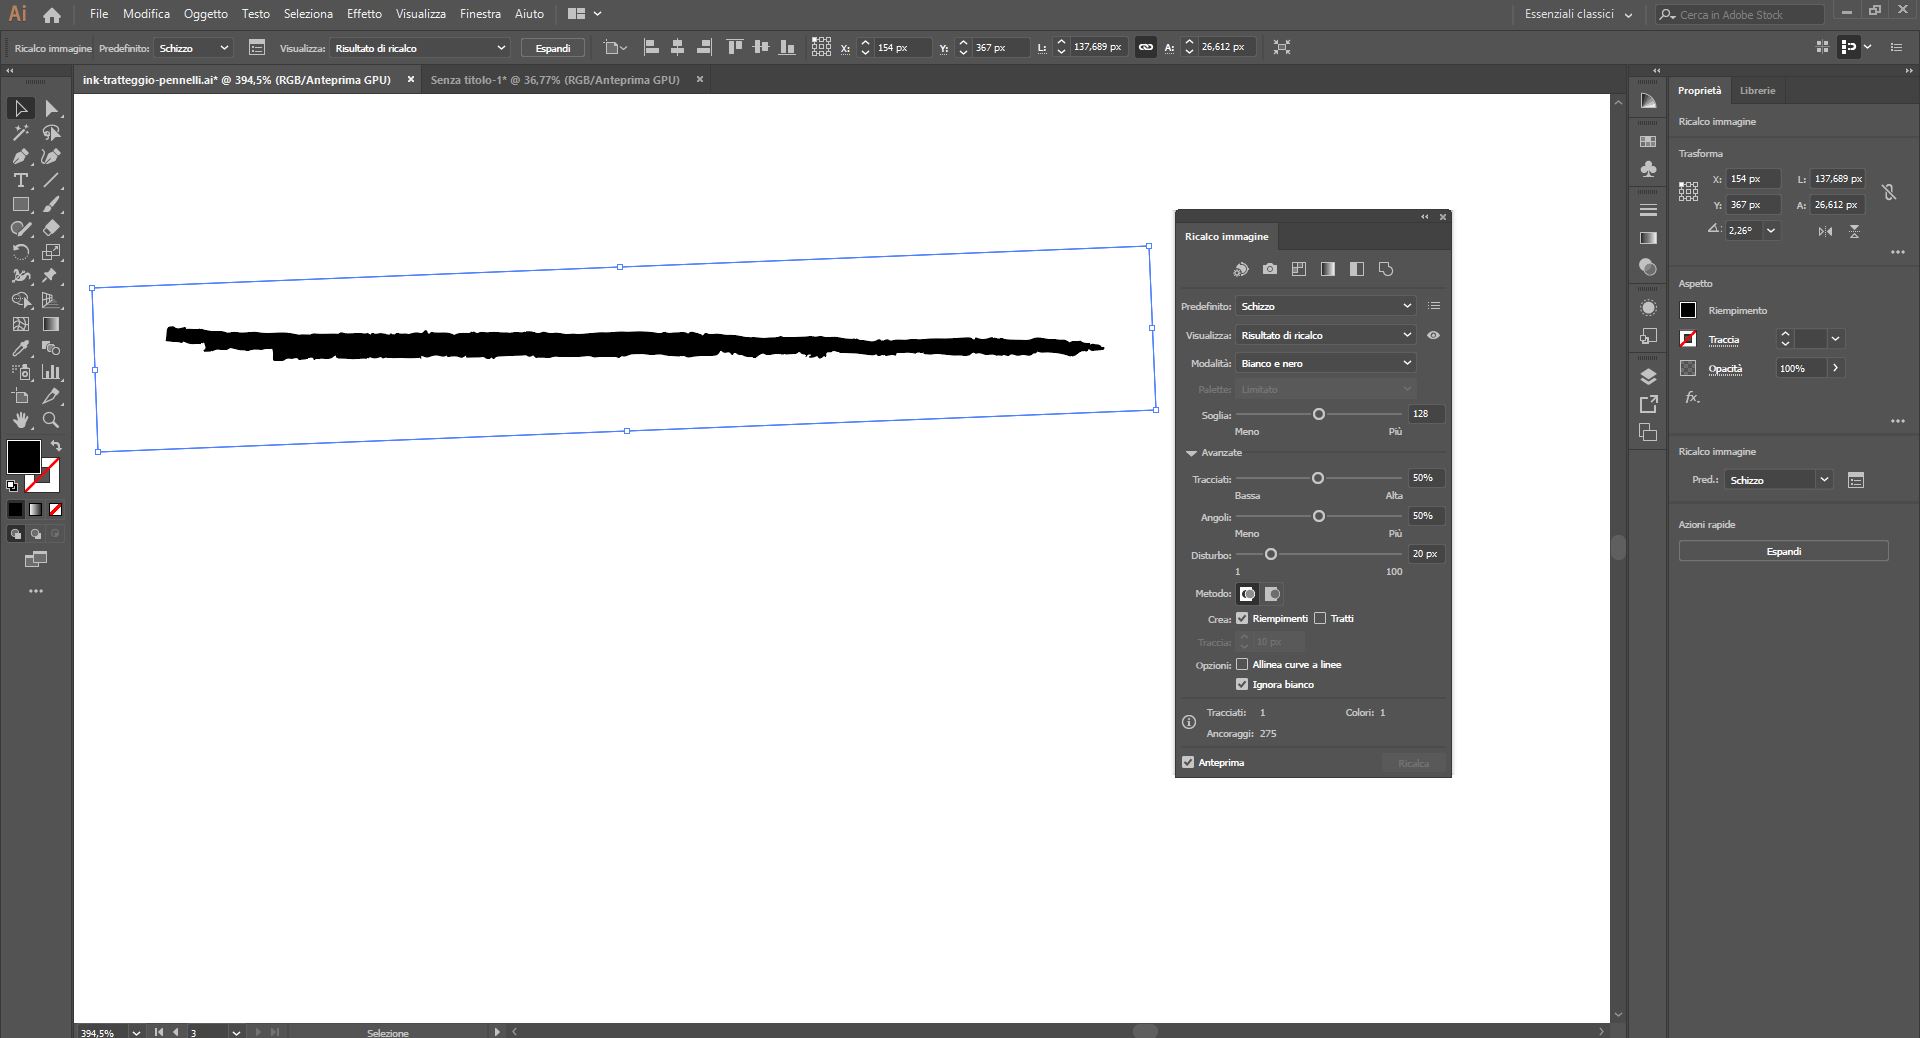
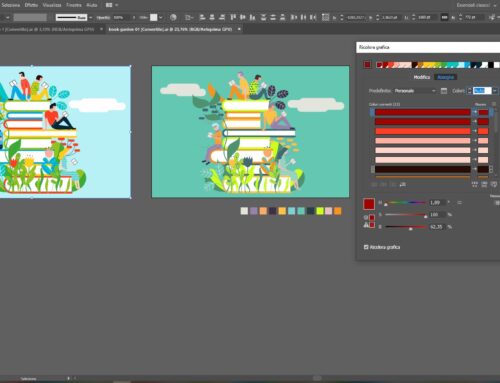
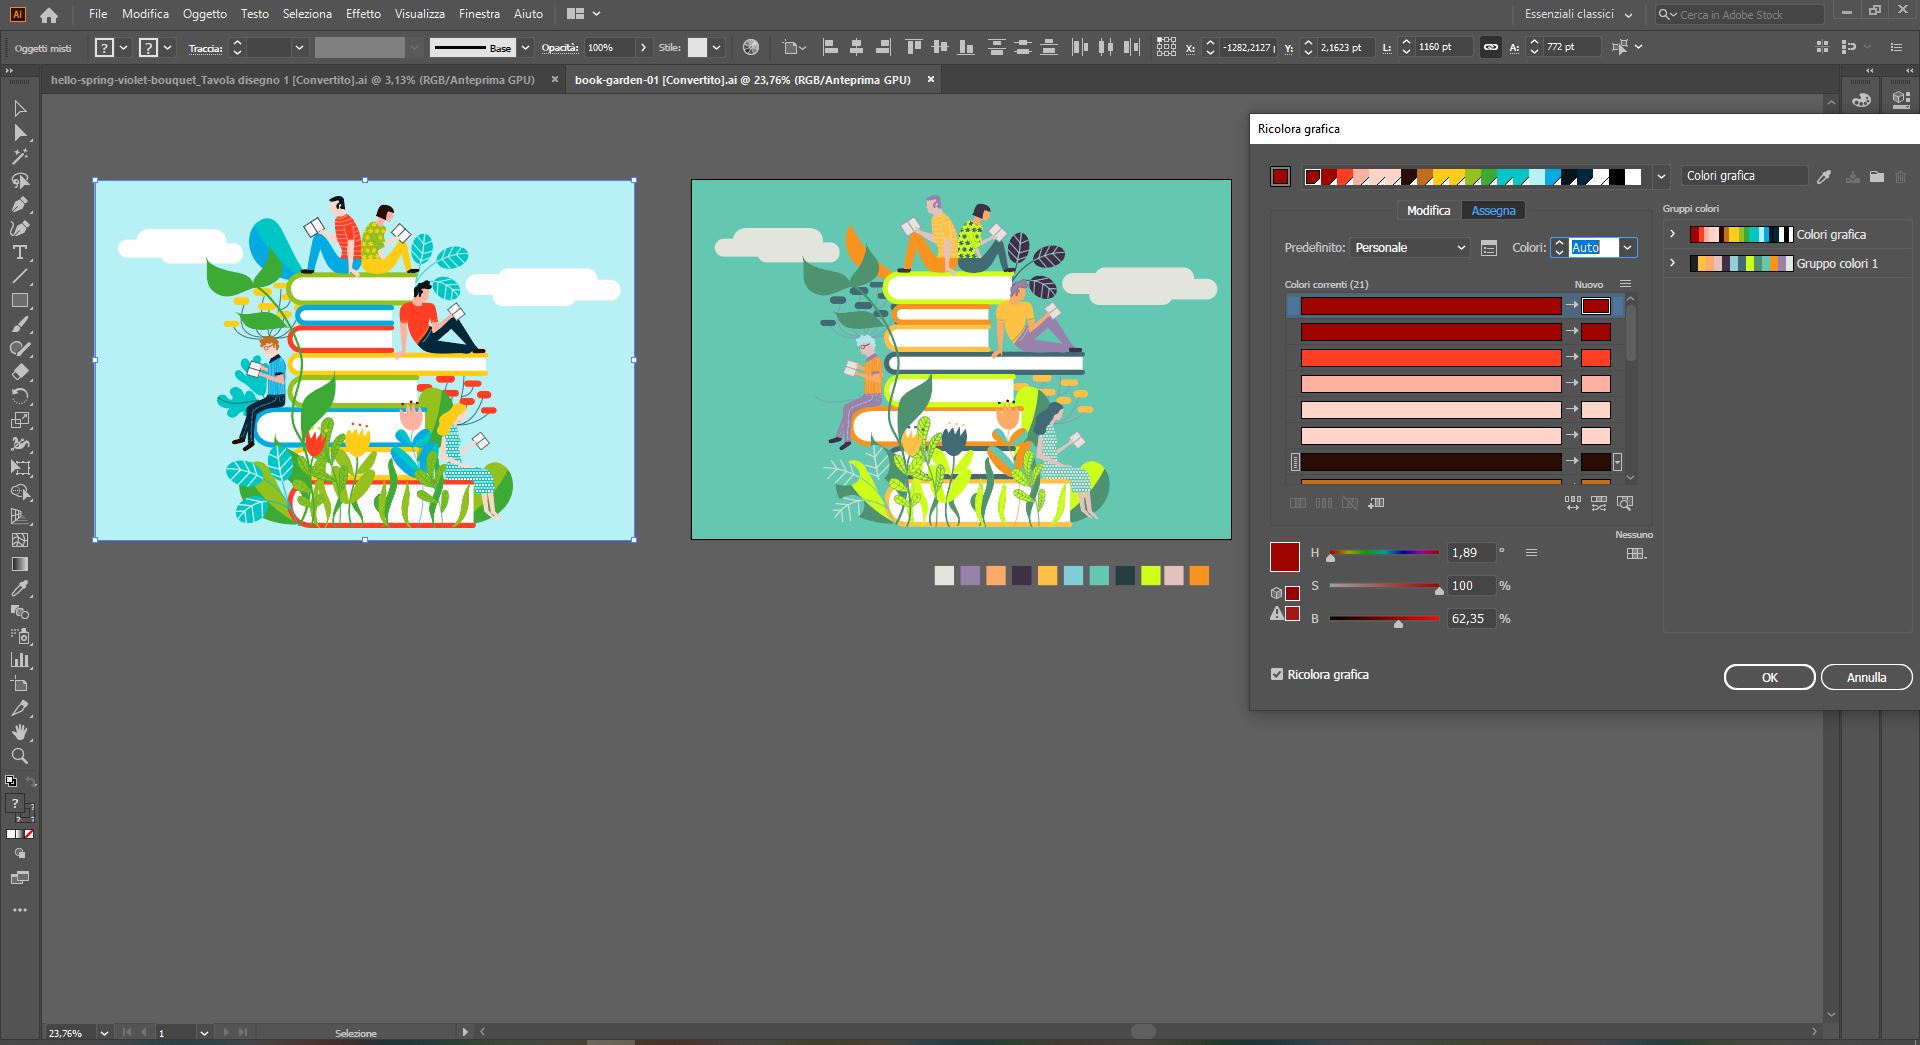
After scanning the strokes made on paper, import the image into Adobe Illustrator. Select each individual image and use the “Image Trace” command with the “Sketch” option to vectorize the stroke using a single color, black.
To further customize the conversion, you can adjust the “Threshold” and “Paths” sliders: increasing the “Paths” value and decreasing the “Threshold” will create more irregular edges. For more details, see my tutorial on how to obtain vector shapes from watercolor drawings.
Click “Expand” in the Properties panel to obtain a vector shape.
If necessary, rotate the shape to orient it horizontally, then select it and click the “New Brush” icon in the Brushes panel. Choose the “Art Brush” type.
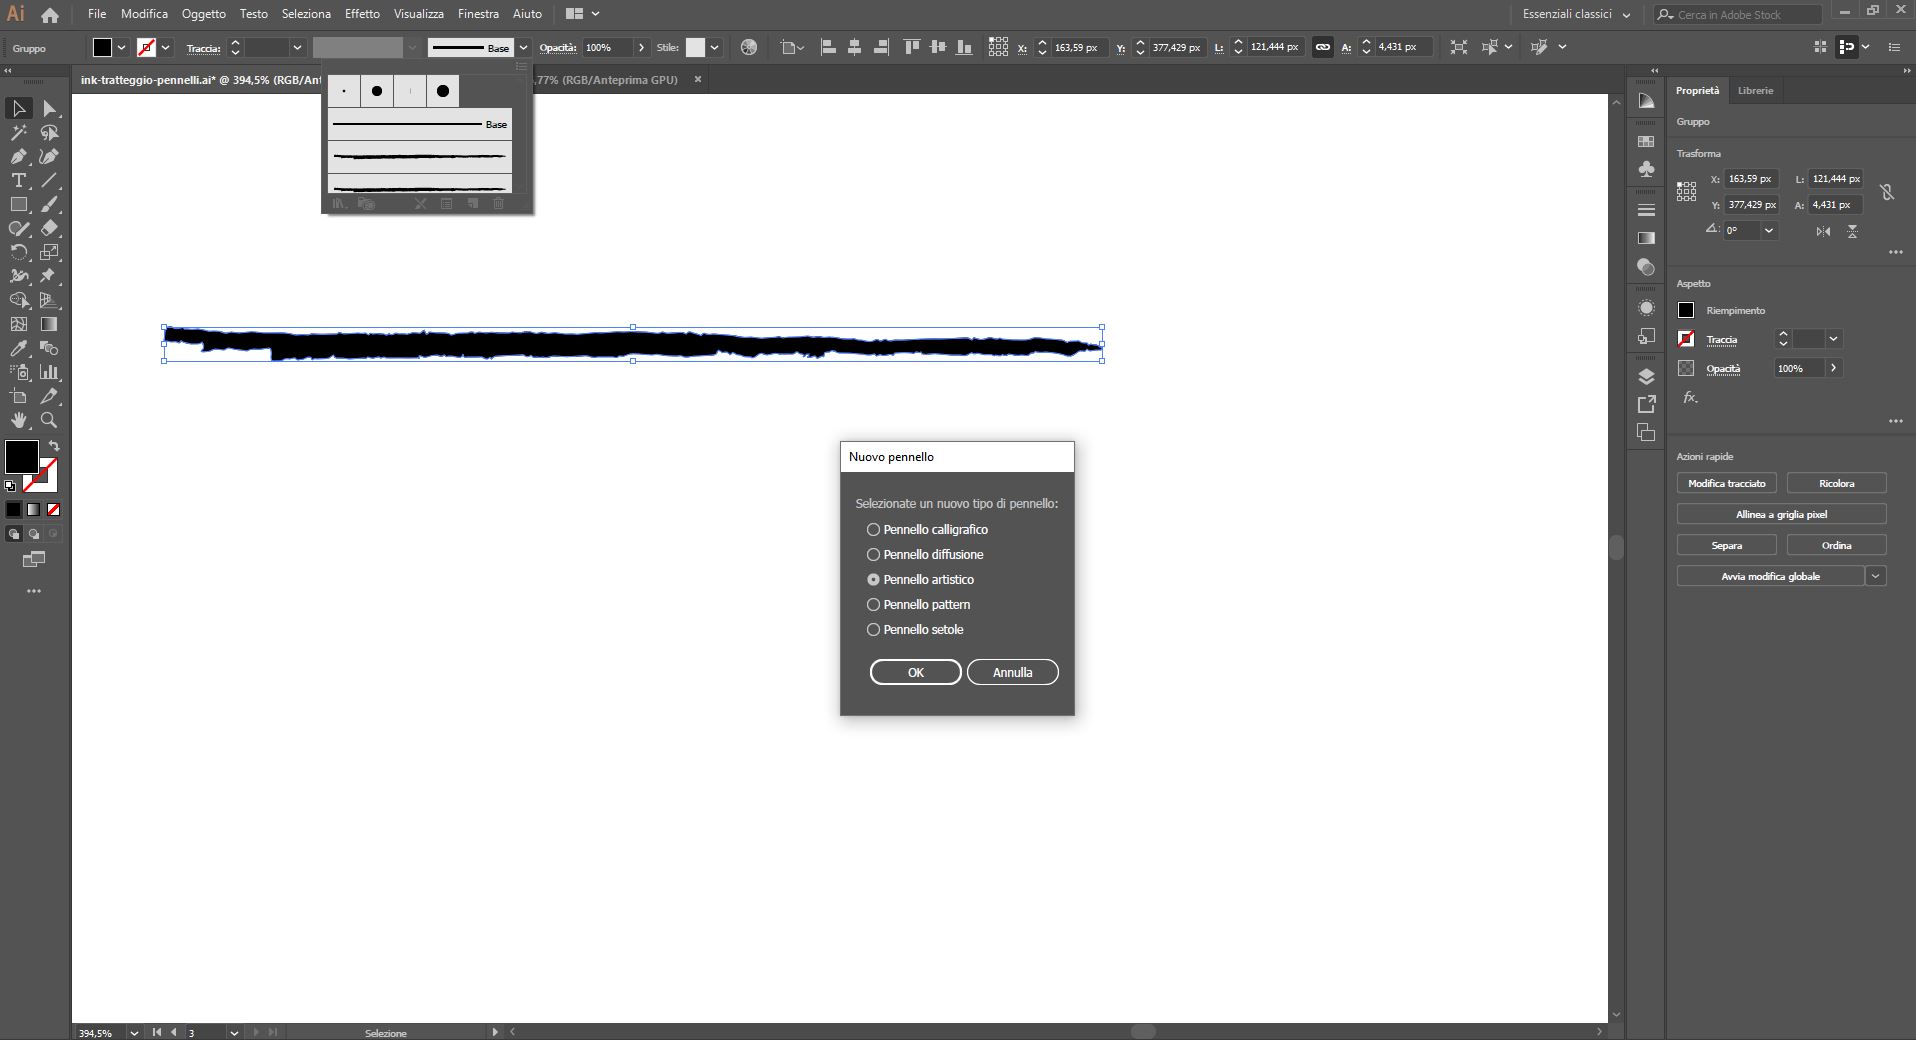
Create the new custom vector brush sensitive to pen pressure
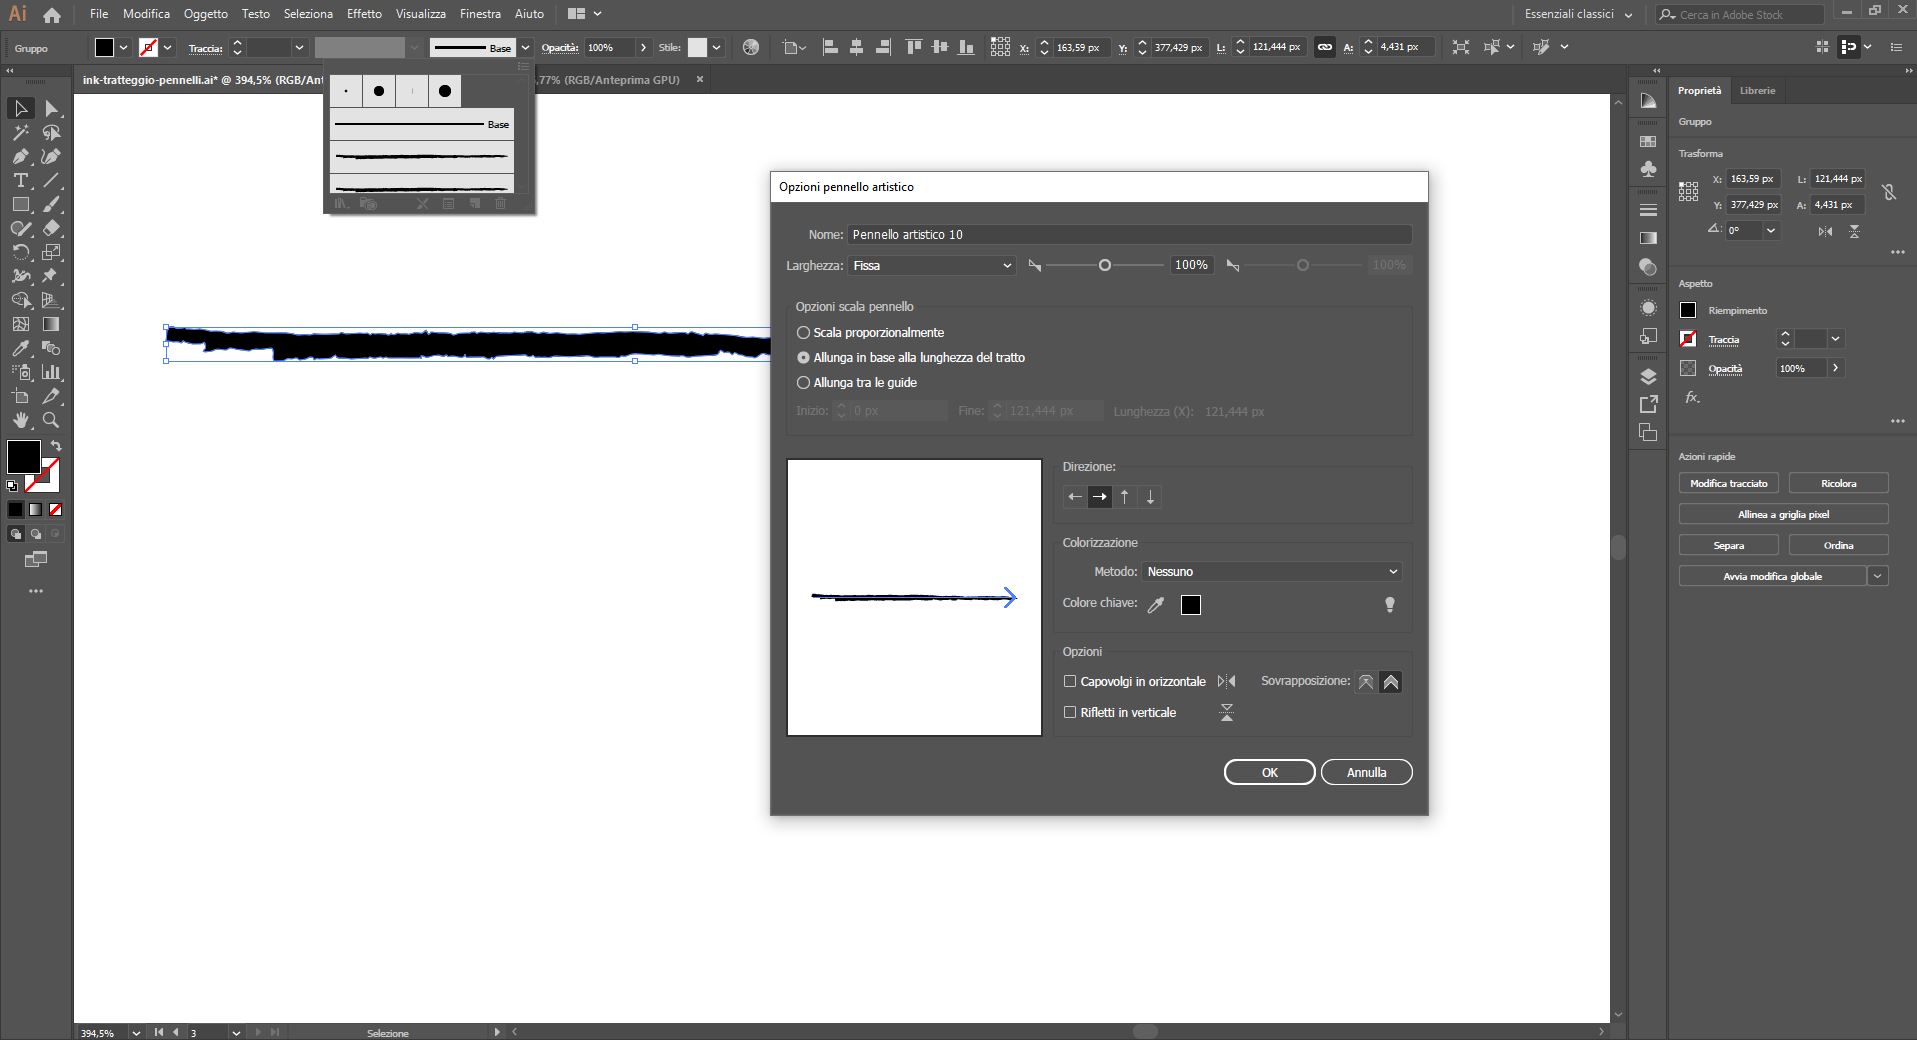
At this point, you can give your new brush a name and make it sensitive to the pressure of your graphics tablet pen by selecting “Pressure” from the drop-down menu for “Width” and setting the range for stroke size variation. Experiment with different ranges. You can change these settings later and decide whether to apply the changes to strokes already drawn or only to new strokes yet to be drawn.
If you set the “Colorization Method” to “Tints”, the brush, which is normally black, will change color based on the Stroke color you choose.
Create your custom vector brush library
Repeat all the steps for each stroke drawn on paper to create a series of brushes (ink brushes) that you can use as needed while illustrating. I also created two brushes with parallel strokes, ready for quick hatching.
To reuse your brushes in different documents, you can save your brush library by clicking the “Library” icon in the Brushes panel and saving the file in a folder of your choice. You can reopen the library in any document at any time using the same “Library” icon.
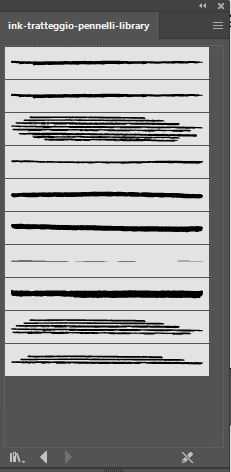
Free download my ink brushes library
If you want to see them in action, watch the “Speed Drawing” video below.

Want to stay updated on upcoming articles? Follow me on social media