Lettering: the art of drawing with letters to create unique images
Lettering—the art of designing letters with the specific goal of creating a sign, an institutional typeface, a logo, or any graphic work—has always held an important place in visual communication.
I’m not referring only to the creation of new fonts, but also to the deformation of existing fonts, and to the combination of shapes, letters, and colors for a communicative purpose.
Clearly, with the advent of digital tools in graphic design, the possibilities have expanded even further.
Here are some examples of contemporary designers who use letter drawing to create their graphic projects:
Lauren Hom: homsweethom.com
Martina Flor: martinaflor.com
Jessica Hische: dailydropcap.com
Erik Marinovich: erikmarinovich.com
Jordan Metcalf: jordan-metcalf.com
… and many others 🙂
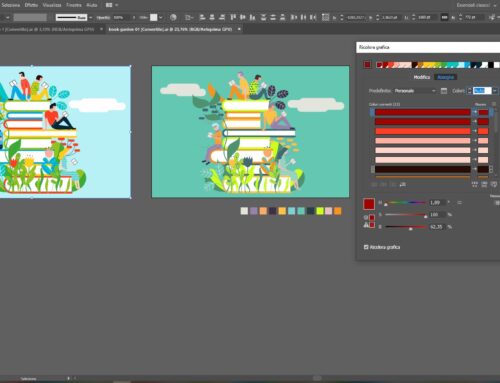
Today, alongside the creation of hand-drawn lettering, the use of techniques and tools offered by Adobe Illustrator is increasingly common.
The classic Adobe Illustrator tools you may have already used in other projects can be extremely useful for this specific purpose.
In particular:
-
the “old” Envelope Distort tool
-
the new Width Tool, which allows you to give a calligraphic effect to a stroke in just a few minutes
-
the Appearance panel
-
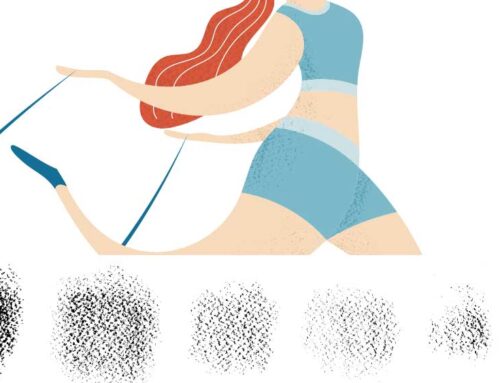
the use of various Brushes
-
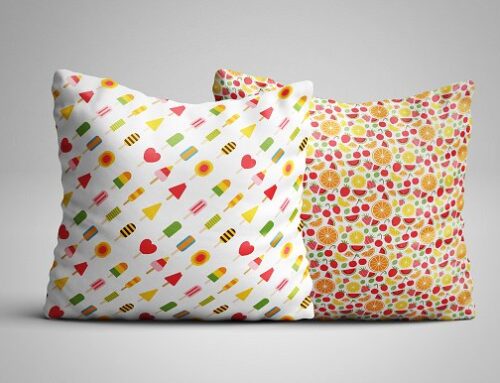
Pattern fills
-
the Blend tool
If you want to use vector brushes with an ink effect, you can download my free brush library or create your own custom artistic brushes by following this tutorial: “Creating digital vector brushes from ink strokes on paper.”
The Envelope Distort tool for text deformation
In this first tutorial dedicated to digital lettering, we will focus in particular on the use of the Envelope Distort tool.
Often, graphic design through lettering aims to communicate a geometric shape by filling it with distorted or altered text, for example:
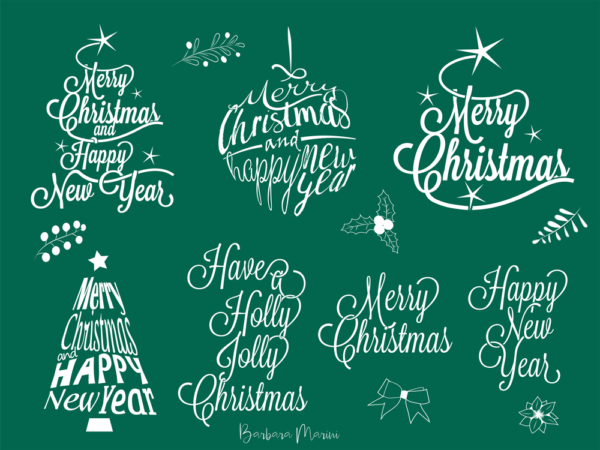


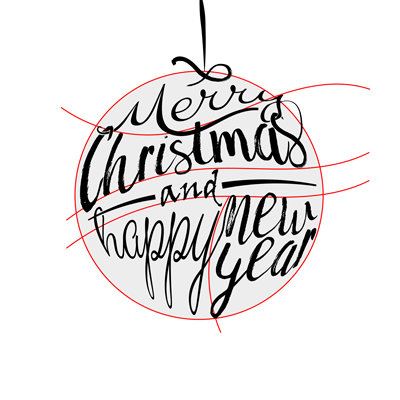
The goal of this tutorial will be to create a Christmas greeting card with the phrase “Merry Christmas and Happy New Year” arranged inside a circular shape, reminiscent of a Christmas tree ornament.

Create your basic layout
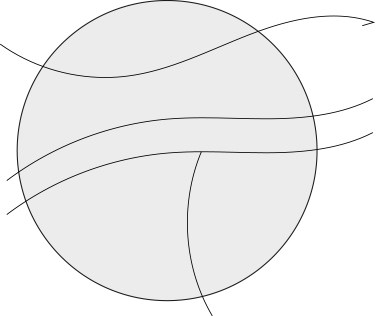
A first step can be to create a basic structure that divides a shape into several sections, within which you will later place the words. I often start by sketching on paper to have a clear idea, and then transfer it to Illustrator.
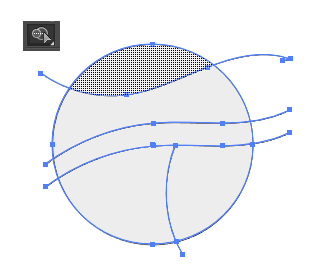
Draw a circle and divide it into areas that will contain the individual words of your text.
Using the “Shape Builder” tool or the “Pathfinder” panel (choose the tool you are most comfortable with), create the 5 closed and separate shapes.
If you want to use the “Shape Builder” tool, after selecting all the paths you created, click on the areas you want to merge. If instead you want to remove unnecessary lines, hold “Alt” while clicking on the lines you want to delete. This way, you’ll get all the separate shapes in no time! 😉
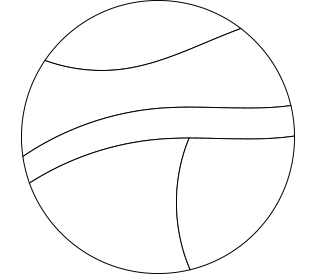
Great! You’ve now created the layout grid that will allow you to break up your phrase.
Choose the appropriate fonts
You can create texts and words manually (even in vector format using the brush tool with ink-effect strokes) or use ready-made fonts.
In a future tutorial, we’ll see how to draw letters manually in a digital format. In this tutorial, however, we’ll focus on creating the lettering using existing fonts, but choosing them carefully. You can even deliberately pair contrasting fonts or fonts with a style that reflects the message or product you want to communicate.
So choose two or three different fonts to use for this tutorial. I chose two calligraphic fonts from Adobe Typekit.
I also really like the free online service DAFONT.COM, where you can select fonts for personal use or, in some cases, commercial use. The categorization by font type is very convenient.
I can suggest two fonts for personal use only (just to follow this tutorial and achieve a similar style):
Then, using the Text tool, create the words (separating each word individually), so it will be easier to move and distort them independently.

Use the ENVELOPE DISTORT tool to warp words to fit a shape
At this stage, we’ll use Adobe Illustrator’s Envelope Distort tool to deform the words inside the shapes you created. Make sure each word is centered within its corresponding shape and that the shape is placed in front of the text. Then select both the shape and the word, and from the OBJECT menu choose ENVELOPE DISTORT → MAKE WITH TOP OBJECT.
Repeat the same procedure for each shape with its corresponding word.
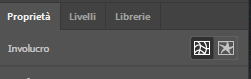
If you want to adjust or change the text, two icons will appear in the Properties panel when selecting with the Selection Tool (black arrow):
-
The first icon lets you edit the shape itself.
-
The second icon lets you edit the content—in this case, the text.
Perfect! At this point, you can refine everything with various ornaments (for example, the little bow I added) and the colors you prefer. In lettering, it’s common to simulate interlacing between letters, as you can see in the figure below. You can achieve this by using the Eraser tool to cut the letters at the right points and the Pen tool to add lines connecting letters, even from different words.
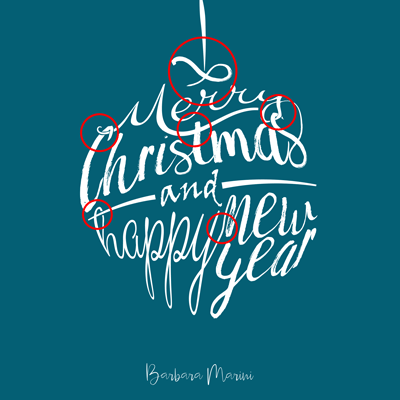
Here’s the finished work.
Watch the attached video with all the individual steps of the tutorial, and if you have any doubts or questions, write them in the comments.
Happy creating, and as always, have fun!

Want to stay updated on upcoming articles? Follow me on social media