How to Create Vector Illustrations for Children
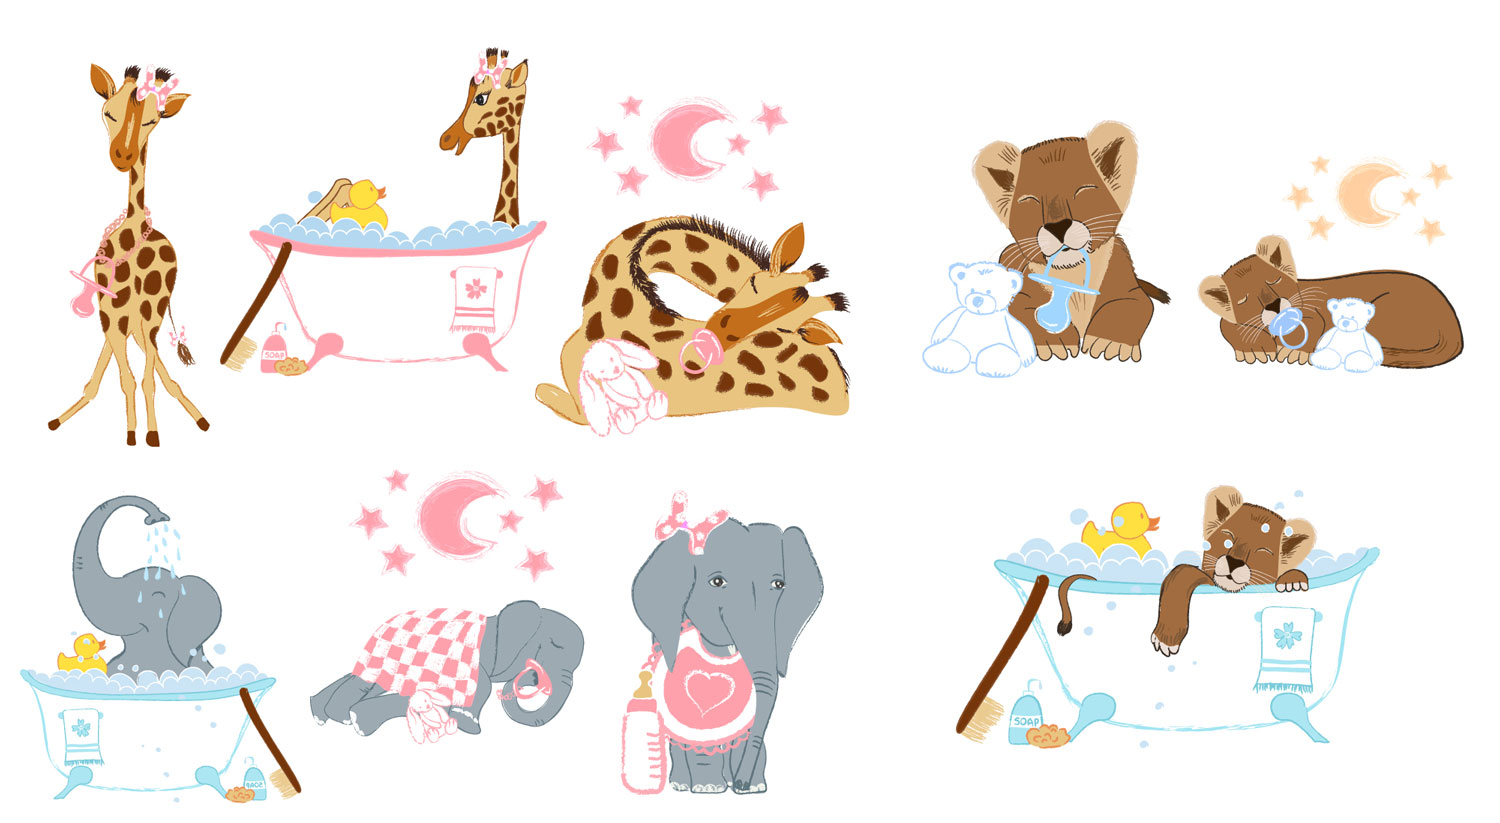
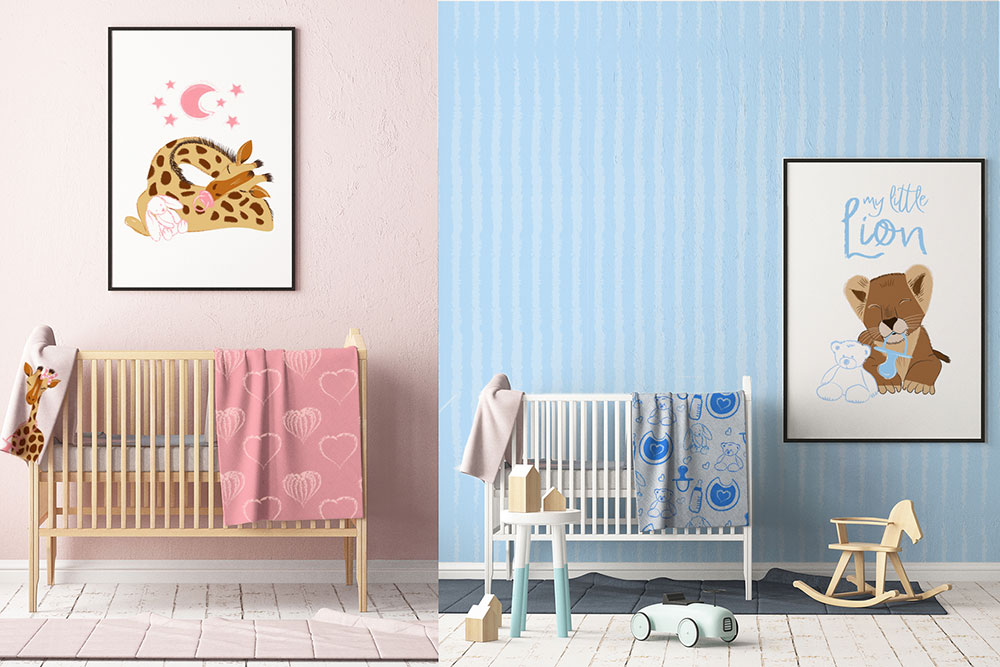
Illustration for children has countless applications: children’s books, picture books, stories, illustrated nursery rhymes, but also prints on clothing, accessories, toys, decorative posters for kids’ rooms, and much more.
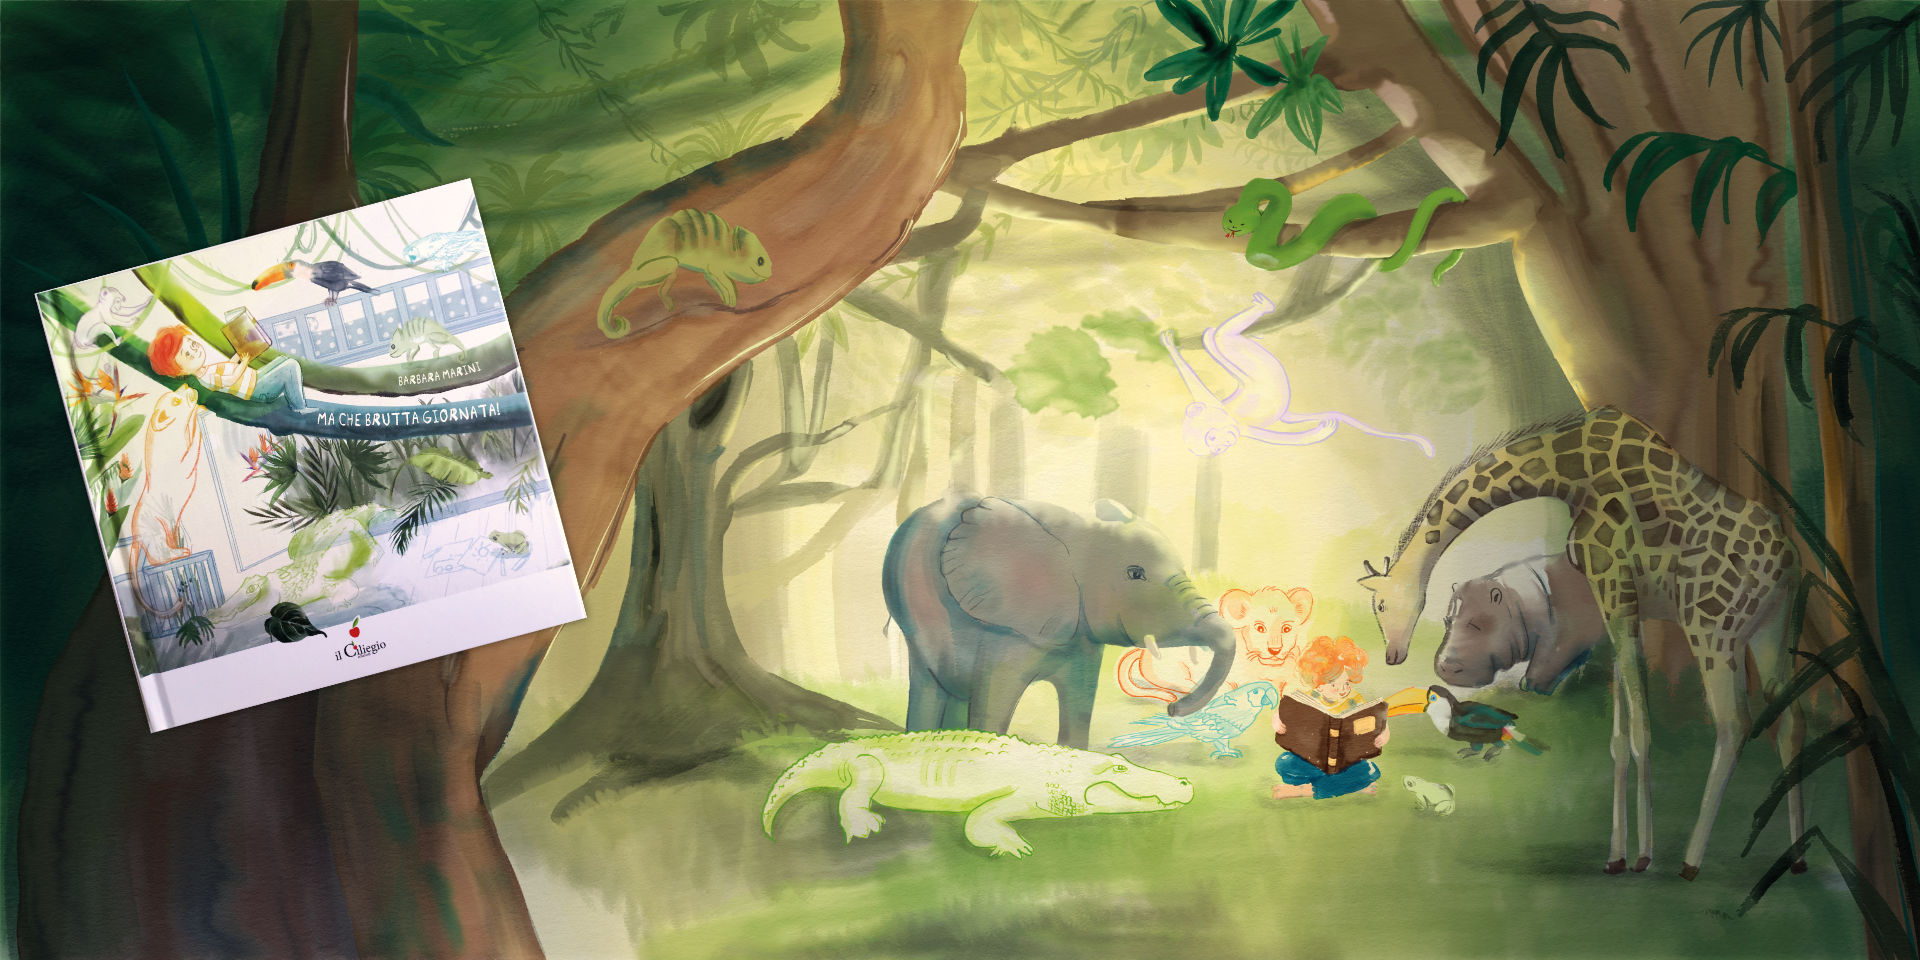
For my children’s illustrations, I love painting in watercolor, sometimes adding black ink for detail. I also enjoy digital painting in Photoshop, simulating acrylic or oil painting. But I also really love Illustrator, both for creating illustrations with a more graphic and linear style, and for achieving a “pencil-drawn” effect. If you love drawing and painting too, as you can see, the possibilities are endless 🙂
Vector Drawing
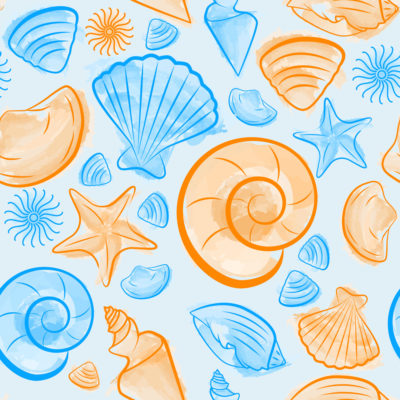
The biggest advantage of using vector drawing is that you can scale it to any size without losing quality or detail. This is especially useful for children’s illustrations I designed for Creative Market, keeping in mind various uses: greeting cards, prints on clothing and accessories, or even enlarged for wall prints or posters. Creating illustrations in vector format allows me to use the same artwork across multiple formats, without necessarily having to rely on geometric or overly stylized graphics.
Clearly, the resulting style is different from a drawing created with traditional painting or digital painting techniques. However, with careful adjustments, it is possible to achieve very distinctive illustrations, and the effect works particularly well for this type of digital children’s illustration.
Process and Workflow
To create my illustrations, I use a Wacom Cintiq, which allows me to draw digitally almost as if I were on paper. However, I prefer to start with a pencil sketch on paper. Once the initial sketch is done, I photograph it and upload it to a dedicated folder on Google Drive. From there, I insert it into a new Adobe Illustrator document, lighten it using the opacity slider, and lock it in place so it doesn’t move.
At this point, I start drawing the outlines digitally with the Pencil tool, tracing the sketch while refining it where needed.
The layer with the newly created outlines serves as an additional base for the final artwork.
I create another layer for coloring and an additional layer for any final contour lines.
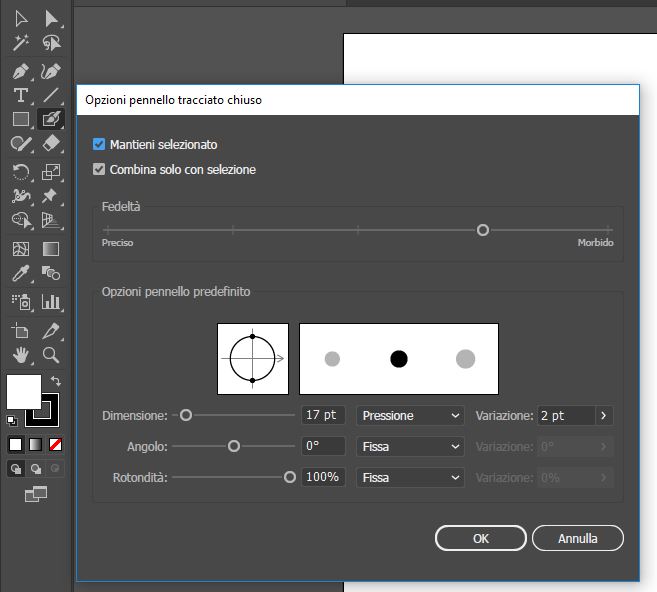
The “Blob Brush” or “Closed Path Brush”
For coloring, I use a fantastic tool called the Blob Brush (or “Closed Path Brush”). This tool allows me to color directly in vector format without having to create closed shapes, customizing brush size, pressure, and roundness.
Simply set the stroke color to the color you want to use, which is then automatically transformed into a filled shape. Then, choose the brush size and, if using a graphics tablet, set variation according to pen pressure.
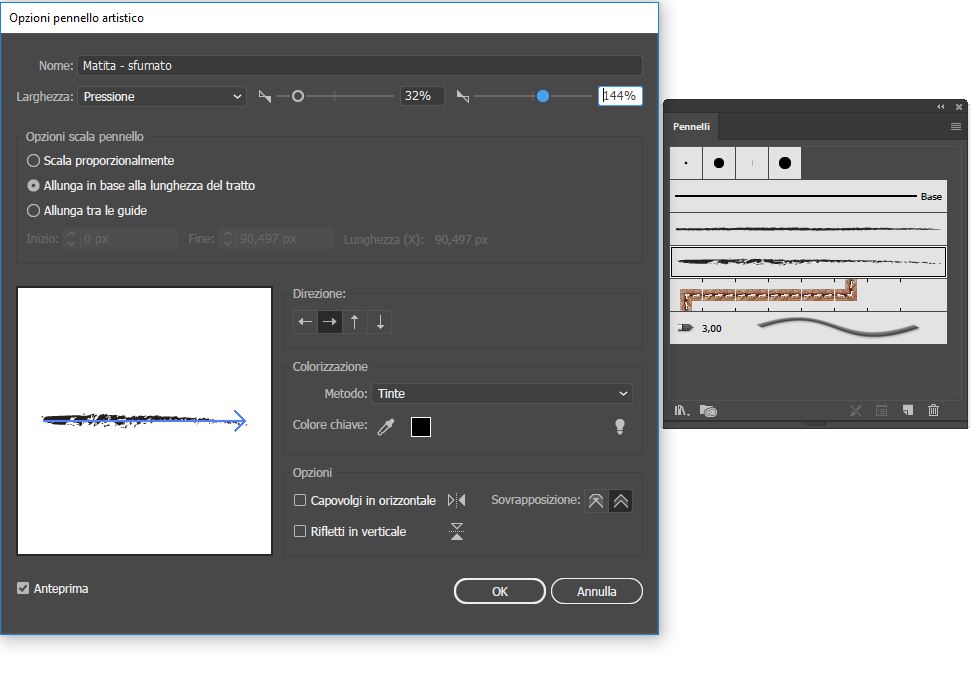
The Artistic Brushes
For details and outlines, I use artistic brushes → Pencil, Chalk, Charcoal. I select the Brush tool and open the artistic brush library. By double-clicking on the brush preview before using it, I can customize the brush size and make it vary according to pen pressure.
In other cases, I have used Watercolor brushes for this type of effect.
Do you want to try my set of vector brushes to create your illustrations in Adobe Illustrator?
Free download my digital brushes here: Set di pennelli digitali per disegno a china in Adobe Illustrator (7076 downloads )
.
.
.

Watch the video at the bottom of the page to see the creation of my illustration using the process I just explained. If you have any questions or doubts, write to me in the comments.
Below, I’ve listed references to the official Adobe manual pages for any questions about the tools used in this tutorial:


Want to stay updated on upcoming articles? Follow me on social media